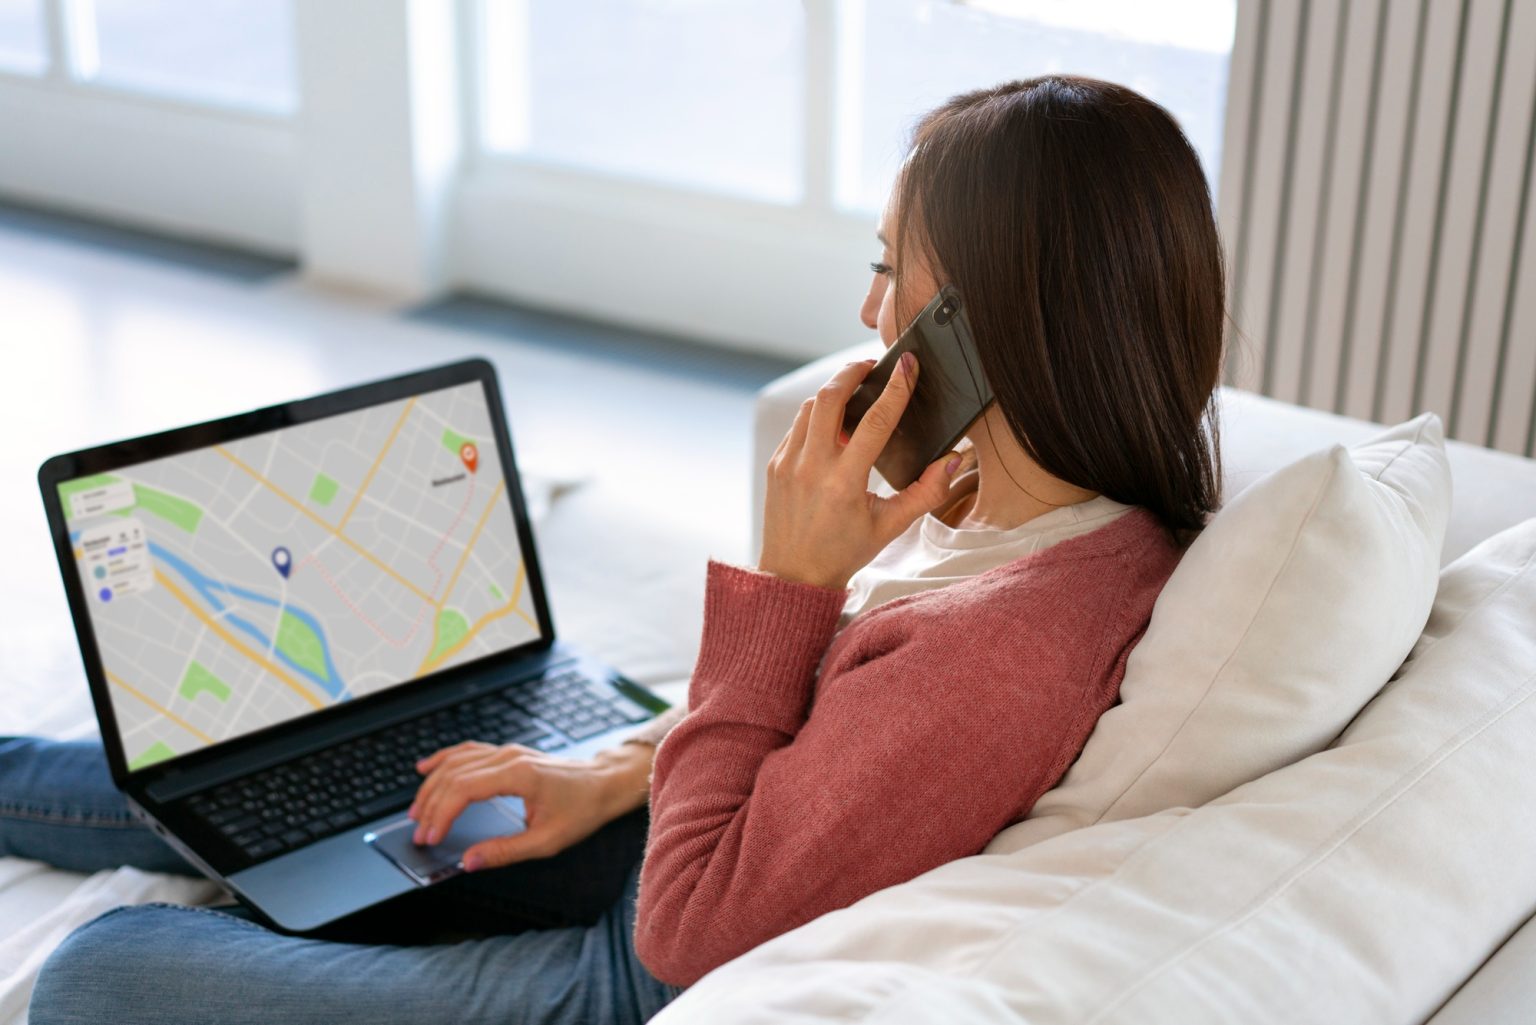
Google Maps Route Planner is a feature of Google Maps that allows you to find the best route to your destination. It provides directions for various modes of transportation including driving, public transit, walking, ride sharing, cycling, flight, or motorcycle.
Here’s a basic step-by-step guide on how to use it:
- 1. Launch Google Maps.
- 2. Identify your destination.
- 3. Identify your starting location.
- 4. Select a transportation mode.
- 5. View the routes.
- 6. Select a route.
- 7. Plan your route.
This feature is very useful when planning trips or daily commutes as it helps you find the most efficient route based on your chosen mode of transportation. Please note that the actual steps may vary slightly depending on whether you’re using a desktop or mobile device.
How accurate is Google Maps Route Planner?
Google Maps Route Planner is generally very accurate. It uses a combination of real-time location data, historical traffic patterns, and advanced machine learning techniques to predict traffic and determine routes.
Here are some key points about its accuracy:
- For simple routing scenarios, such as finding the fastest route from point A to point B, Google Maps is excellent. It provides an extraordinarily accurate Estimated Time of Arrival (ETA).
- Google’s ETA predictions have been consistently accurate for over 97% of trips.
- For multi-stop routes, the accuracy can decrease, especially for routes with more than 10 stops. Google Maps does not factor in constraints like delivery time windows.
- Manual reordering of stops may be required for more efficient multi-stop routes.
- Google Maps depends on users to manually update their maps and routes, which can lead to inaccuracies.
So, while Google Maps Route Planner is highly accurate for simple routes, its accuracy may vary for complex multi-stop routes. It’s always a good idea to double-check the route and make adjustments as needed.
How does Google Maps predict traffic?
Google Maps predicts traffic using a combination of real-time data, historical data, and advanced machine learning techniques. Here’s a detailed explanation:
- Real-Time Data: When people navigate with Google Maps, aggregate location data can be used to understand traffic conditions on roads all over the world². This information helps you find current traffic estimates.
- Historical Data: Google Maps analyzes historical traffic patterns for roads over time. For example, it may know that a certain freeway typically has vehicles traveling at a speed of 65mph between 6-7am, but only at 15-20mph in the late afternoon.
- Machine Learning: Google Maps uses machine learning to generate predictions based on both sets of data. It partnered with DeepMind, an Alphabet AI research lab, to improve the accuracy of its traffic prediction capabilities.
- Crowdsourcing: Beginning in 2009, Google turned to crowdsourcing to improve the accuracy of its traffic predictions. When Android phone users turn on their Google Maps app with GPS location enabled, the phone sends back bits of data, anonymously, to Google that let the company know how fast their cars are moving.
- Waze Acquisition: With its acquisition of Waze in 2013, Google added a human element to its traffic calculations. Drivers use the Waze app to report traffic incidents including accidents, disabled vehicles, slowdowns and even speed traps.
This combination of technologies and strategies allows Google Maps to predict traffic with high accuracy and provide reliable route recommendations.
How to find and share GPS location on Google Maps
Sure, here’s how you can find and share your GPS location on Google Maps:
Find a Location:
- Open the Google Maps app on your phone or tablet.
- Search for a place, or touch and hold anywhere on the map to drop a pin.
Share a Location:
- Tap the place’s name or address at the bottom of the screen.
- Tap “Share”. If you don’t see this icon, tap “More” then “Share”.
- Choose the app where you want to share the link to the map.
Share Your Real-Time Location:
- Sign into Google Maps and tap your profile picture or initial > Location sharing > New share.
- Choose how long to share (from 15 minutes to one day, or “Until you turn this off”).
- Select the people you want to share your location with.
- Tap “Share”.
Please note that these steps may vary slightly depending on whether you’re using a desktop or mobile device. Always ensure that you’re sharing your location responsibly and with people you trust.

